When I first heard about DTF Transfers, I was skeptical. Could a transfer really adhere to cotton, polyester, and blends with the same vibrancy and durability? After testing dozens of methods, I can confidently say that DTF (Direct to Film) has become my go-to for custom apparel. In this guide, I'll share everything I've learned, from the science behind the transfer to the step-by-step process, so you can achieve professional results at home.
What Are DTF Transfers?
DTF Transfers are a printing technology where your design is printed onto a special film, coated with a powder adhesive, and then heat-pressed onto fabric. Unlike DTG (Direct to Garment) or screen printing, DTF doesn't require pre-treatment or specialized inks for different fabrics. The process works by printing a mirror image of your design onto a PET film using water-based pigments, then applying a thermoplastic powder while the ink is still wet. Once cured, the transfer is ready to be pressed onto virtually any fabric.
Why Choose DTF Over Other Methods?
There are several reasons why DTF has gained popularity:
- Versatility: Works on cotton, polyester, blends, denim, canvas, and even leather.
- No pre-treatment: Saves time and equipment costs compared to DTG.
- Vibrant colors: White ink base allows bright prints on dark garments.
- Durability: Properly applied transfers withstand dozens of washes without cracking or fading.
- Cost-effective for small batches: No setup fees like screen printing.
Step-by-Step DTF Transfer Process
Let's walk through the entire workflow, from creating your design to pressing it onto a t-shirt. I'll include tips I've picked up from my own trials and errors.
1. Designing Your Artwork
Start with high-resolution artwork (300 DPI) in CMYK or RGB. Remember that DTF prints a white underbase, so colors will be opaque. Avoid very fine lines or gradients that might not reproduce well. I recommend using a RIP software to optimize ink limits and ensure smooth gradients. If you're new, start with bold, simple designs to build confidence.
2. Printing on Film
Load your DTF film into a compatible printer (modified Epson or dedicated DTF printer). Print the mirror image of your design. The printer lays down CMYK inks, followed by a white layer. This white layer is crucial for opacity on dark fabrics. After printing, immediately sprinkle the hot-melt adhesive powder over the wet ink. Shake off excess and ensure even coverage.
3. Curing the Powder
Place the film in a curing oven or under a heat press at 320°F (160°C) for 2-3 minutes. The powder melts and bonds with the ink. Once cured, the transfer can be stored for months. I usually cure in batches to save time.
4. Heat Pressing the Transfer
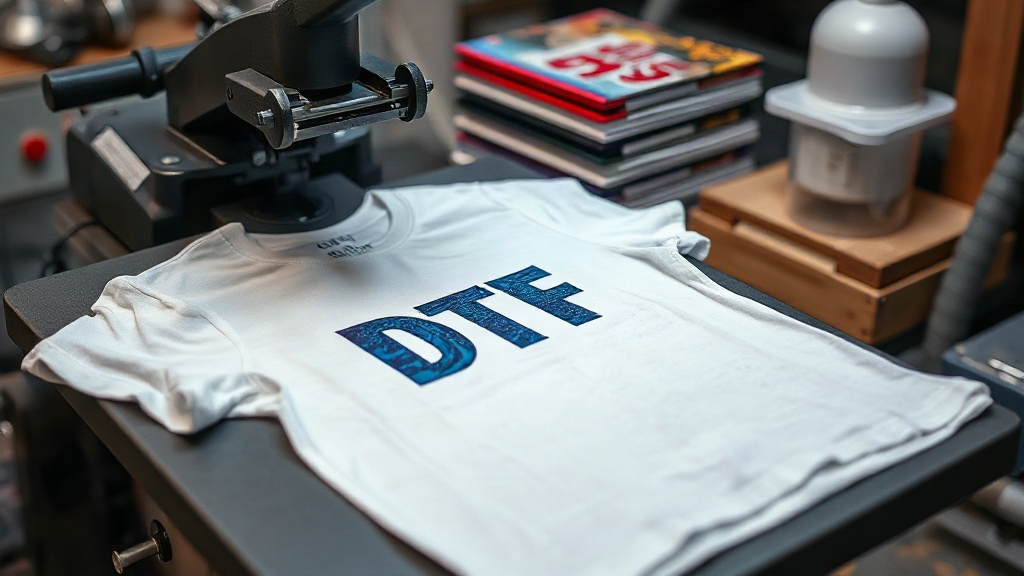
Set your heat press to 320°F (160°C) with medium pressure. Pre-press the garment for 5 seconds to remove moisture. Place the transfer on the fabric, cover with a Teflon sheet, and press for 15-20 seconds. Peel the film while it's hot (or cold, depending on the film type). I prefer hot peel for faster production.
Common Mistakes and How to Avoid Them
Even with the best equipment, mistakes happen. Here are the most common issues I've encountered and how to fix them:
- Insufficient pressure: Results in poor adhesion. Increase pressure and ensure the press is level.
- Uneven powder application: Causes patchy transfers. Use a powder shaker for even distribution.
- Over-curing: Makes the transfer brittle. Follow the recommended time and temperature.
- Pressing on seams or zippers: Leads to uneven transfer. Use a pressing pillow for irregular areas.
- Not pre-pressing: Moisture can cause adhesion failure. Always pre-press.
Choosing the Right Materials
Not all DTF films and powders are created equal. I've tested several brands, and here's what I look for:
- Film: PET film with a matte side for printing and a glossy side for powder. Thickness around 75-100 microns works well.
- Ink: Water-based pigment inks designed for DTF. Avoid sublimation inks.
- Powder: Thermoplastic polyurethane (TPU) powder, typically 80-200 microns. Finer powder gives softer hand feel.
Investing in quality supplies saves frustration and ensures consistent results.
DTF Transfers vs. Other Printing Methods
How does DTF stack up against DTG, screen printing, and vinyl? Here's a quick comparison:
- DTG: Requires pre-treatment, limited to cotton, expensive for small runs.
- Screen printing: Cost-effective for large orders, but setup costs and color limitations.
- Vinyl: Good for simple designs, but not for complex graphics.
- DTF: No pre-treatment, works on many fabrics, vibrant colors, and cost-effective for small to medium runs.
For me, DTF hits the sweet spot between quality and convenience.
Frequently Asked Questions
How long do DTF transfers last?
With proper application and care, DTF transfers can last 50+ washes. Turn the garment inside out and wash in cold water to prolong life.
Can I use DTF transfers on 100% polyester?
Yes, DTF works on polyester, but you may need to lower the pressing temperature to 280°F (140°C) to avoid scorching. Always test on a scrap piece first.
Do I need a special printer for DTF?
You can modify an Epson printer with DTF ink and film, but dedicated DTF printers offer better reliability and color consistency. If you're serious, invest in a dedicated machine.
What is the best way to store unused transfers?
Keep them in a cool, dry place away from direct sunlight. Place them in a sealed bag to prevent dust and moisture. They can last up to 6 months.
Can I layer DTF transfers?
Yes, you can layer colors by pressing one transfer, then applying another on top. Use a Teflon sheet between layers to protect the design.
Mastering DTF Transfers takes practice, but the results are worth it. Whether you're a hobbyist or a small business owner, this technology opens up a world of possibilities for custom apparel. Start with simple designs, experiment with settings, and soon you'll be producing professional-grade prints that impress.